1. Create a Blog "How To" ribbon Technique - (anything you Like - altered or Layout) be sure to include extra images showing the process and the instructions. DETAILS DETAILS DETAILS....
2. use at least 2 DIFFERENT ribbons on your creation
3. Blog your "How To" be sure to include the extra images and all instructions Links etc etc - and link us to your blog entry in this thread.
4. Upload in the gallery before Deadline and post your picture/ instructions in this thread!
EXAMPLES OF A SNS BLOG "HOW TO" are under Categories on the SNS BLOG
**Categories being judged this round:
Creative Ribbon Technique
Blog Entry "How to" (Instructions, Extra Images, Links, Products, etc)
Creativity
Overall appearance & design
Picture of Project (cropped, re-sized, GOOD background etc)
OK So Here We Go.......
The ribbon Technique I chose to do - was "Die Cutting with Ribbon"
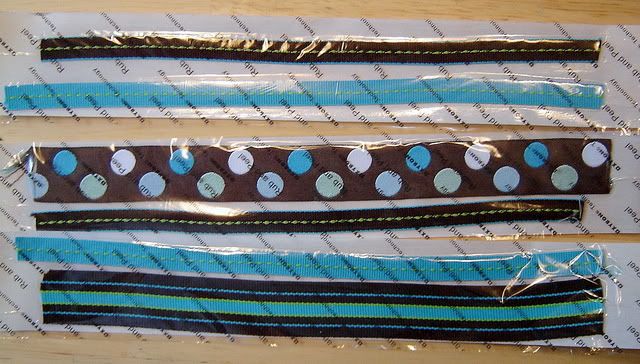
I Gathered Up Some Supplies:
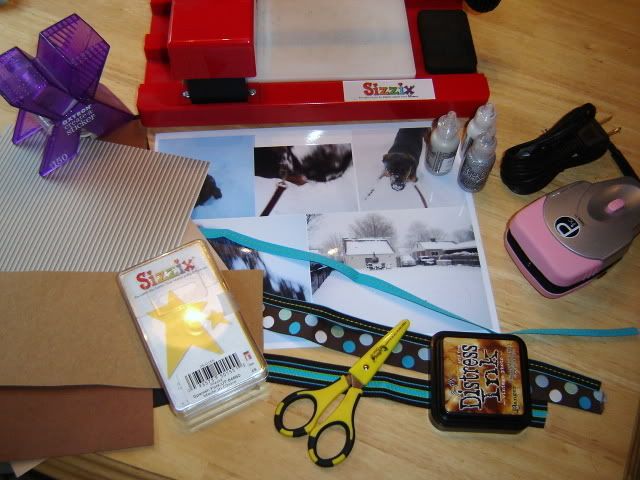
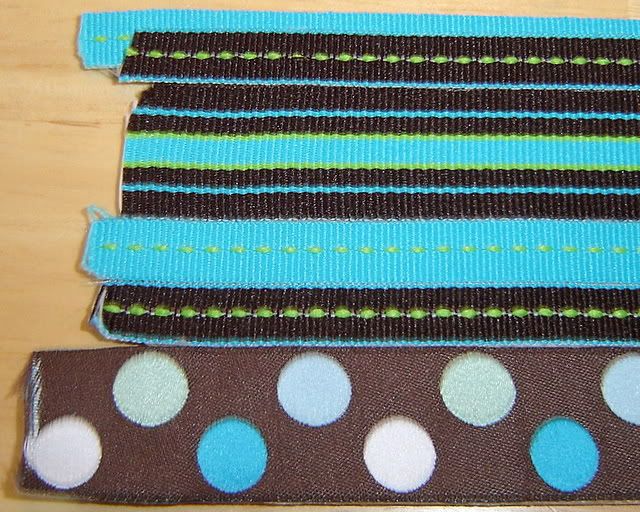
Bermuda Cool - #0186 from the SnS July Sassy Kit
Brown - Miami Blue - Lime Stitch - #0188 from the SnS July Sassy Kit
Miami Blue - Lime Stitch - #0187 from the SnS July Sassy Kit
Brown - White - Turq - Blue - Aqua Jacquard - #0189 from the SnS July Sassy Kit
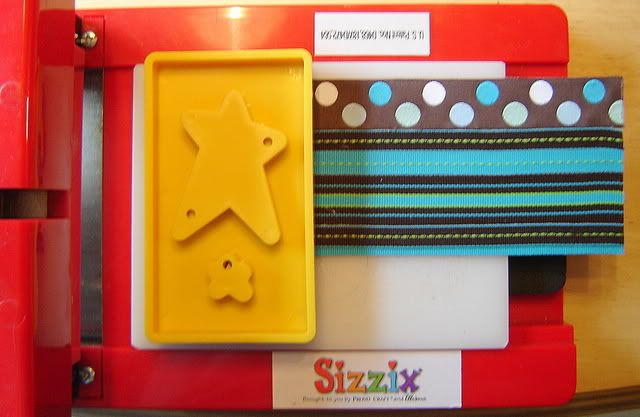
My Xyron 150, some chipboard, (I cut out a piece of a beer box so it was not to thick, you could use whatever you have in your recycle box), my Ribbon Iron, My Sizzix and a Sizzix Die.
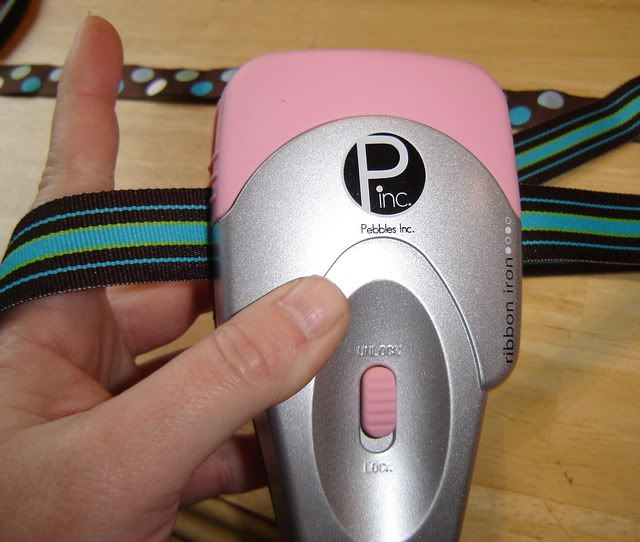
First Things First:
Use the Ribbon Iron to Iron Your Ribbon.
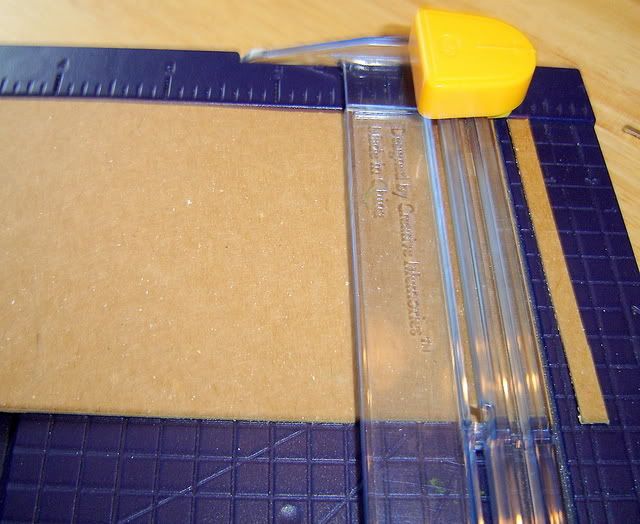
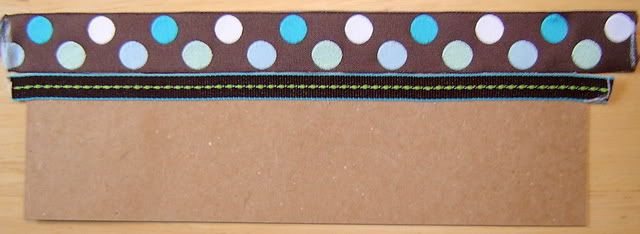
I cut my chipboard to 3 x 8 inches, the size I wanted to use on my LO.
(The sky's the limit)
Cut Ribbons to the size of Your Chipboard.
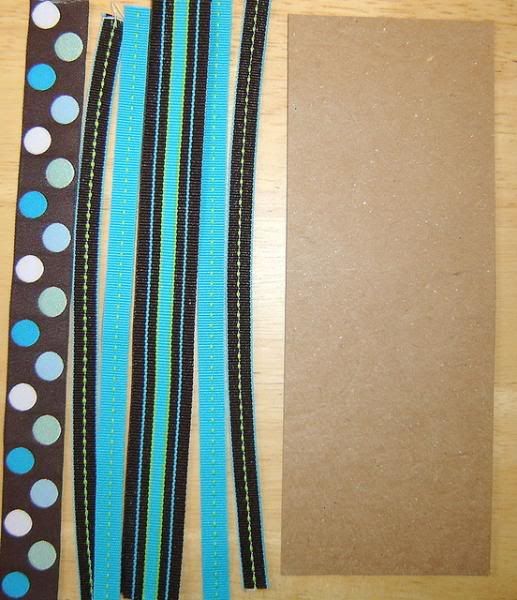
Use the Xyron 150, or your own adhesive, to make the ribbon sticky.
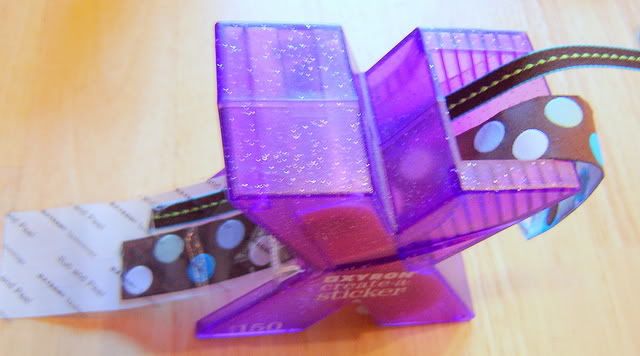
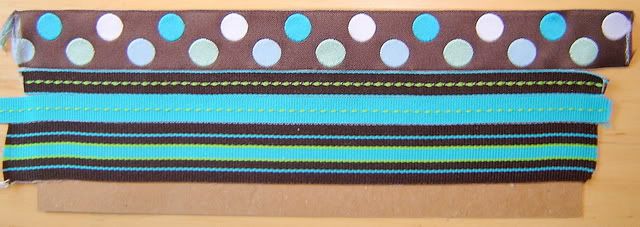
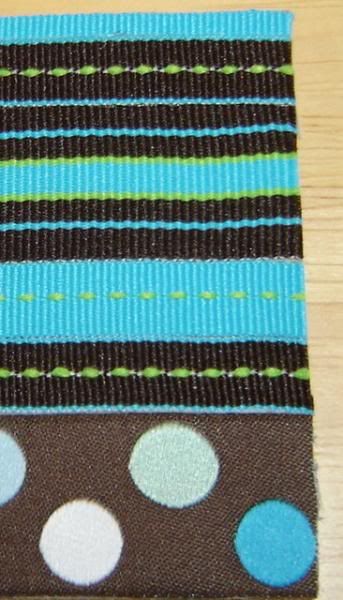
Now Place the ribbons however you would like in order to cover the chipboard completely.
I choose to do straight lines to cover up my chipboard.
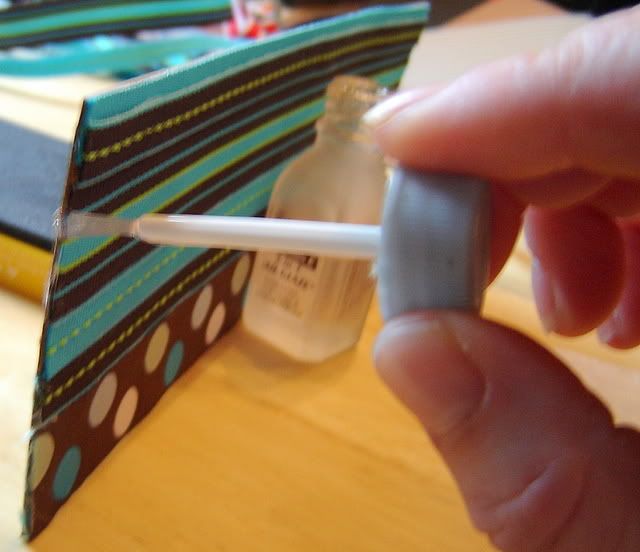
Trim The Ribbon:
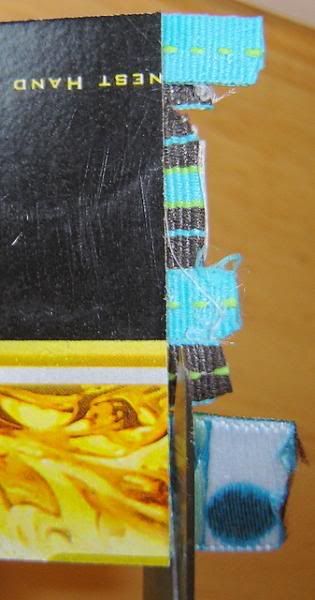
If your Ribbon is Fraying - Use CLEAR Nail Polish to stop it.
All Trimmed Up:
Now take your Die and position it on the chipboard.
I'm using this for a 2 page LO, so I marked where I wanted to cut,
so that it would be evenly spaced.
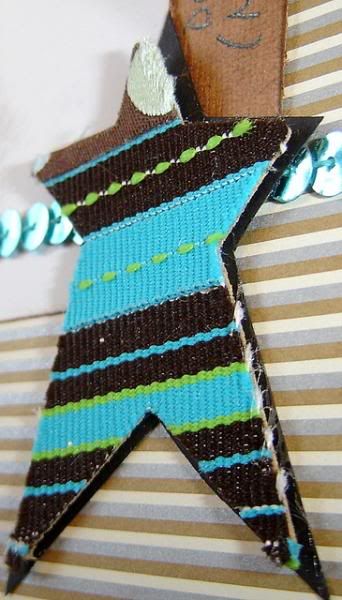
Use your die cutting machine, and cut it out!!
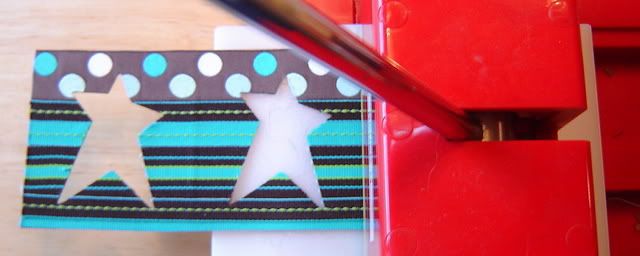
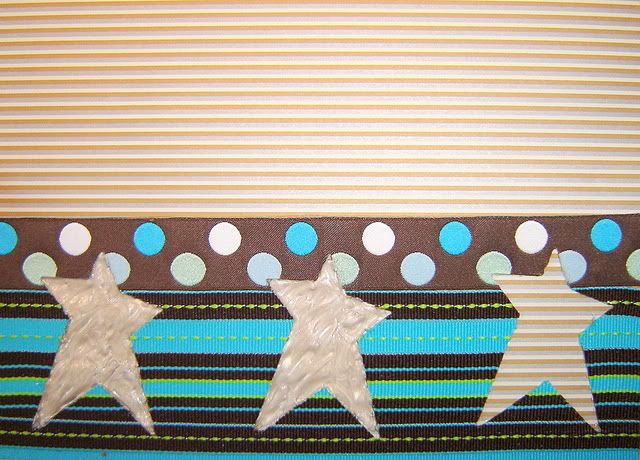
All Done! You now have a Die Cut Ribbon Shape that can be used for your LO.
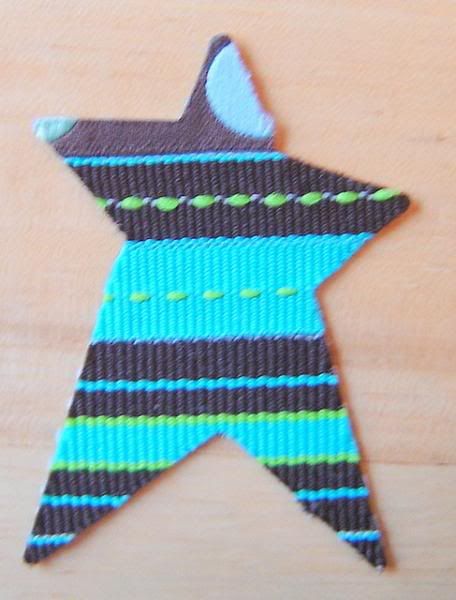
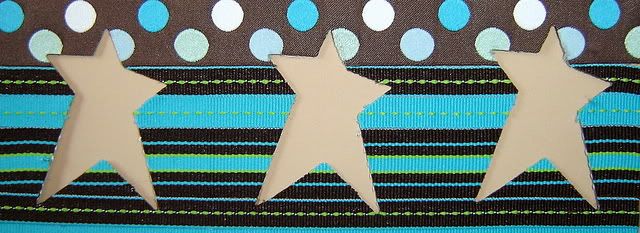
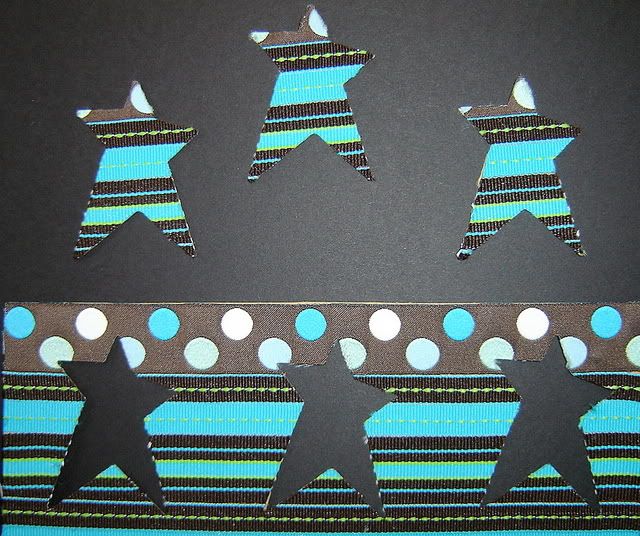
I choose to use both the positive, and negative sides of my chipboard, on my Two page LO.
On "Snow Nose"
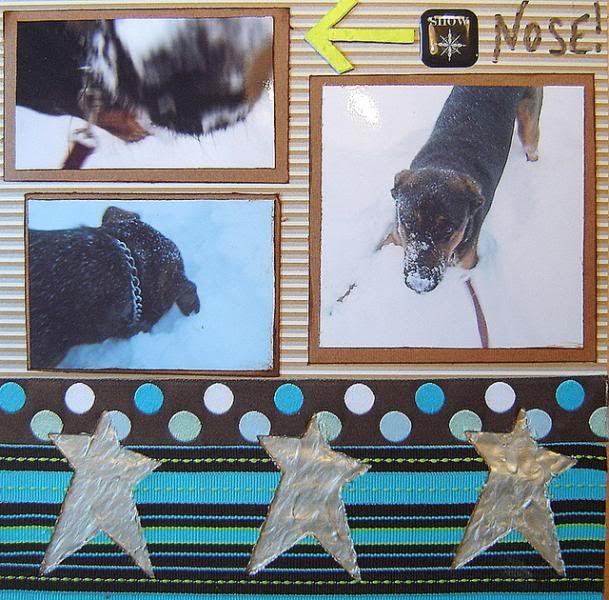
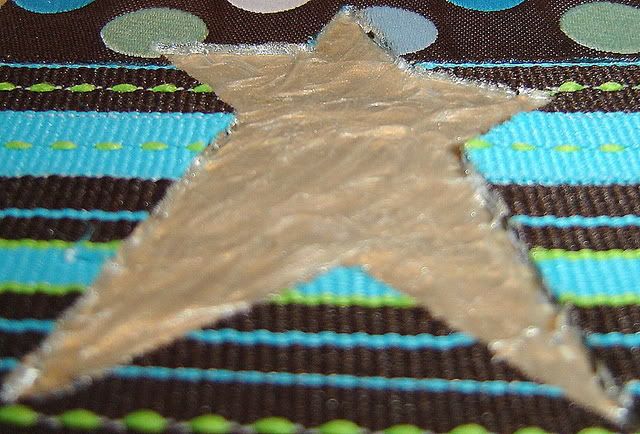
I filled the negative Space with Liquid Pearls - Platinum Pearl.
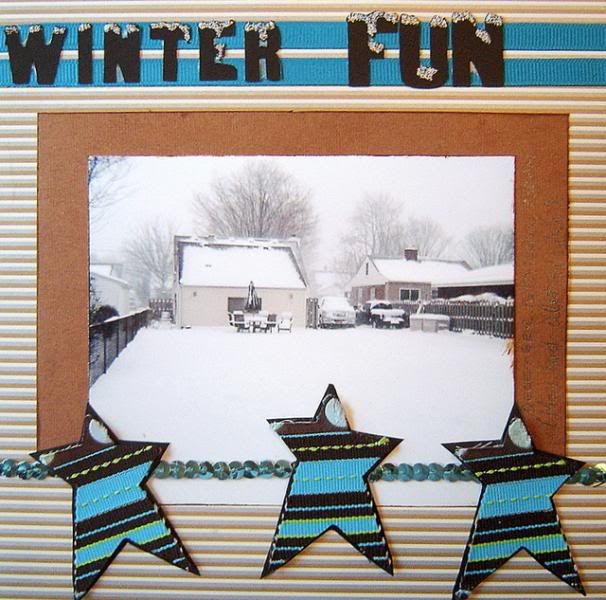
On "Winter Fun":
I used Stickles - Frosted Lace on the Title, and Sapphire Grosgrain & Aqua Sequins from the ZZ December #2 - Explore Kit
Supplies Used:
Ribbons:
Bermuda Cool - #0186 from the SnS July Sassy Kit Brown - Miami Blue - Lime Stitch - #0188 from the SnS July Sassy Kit Miami Blue - Lime Stitch - #0187 from the SnS July Sassy Kit Brown - White - Turq - Blue - Aqua Jacquard - #0189 from the SnS July Sassy Kit Sapphire Grosgrain & Aqua Sequins from the ZZ December #2 - Explore Kit
KI Memories "Silent Night" PP
Brown & Black Cardstock
Liquid Pearls - Platinum Pearl
Stickles - Frosted Lace
Sizzix Originals Die - Stars, Primitive (38-0155)
Black Pen
Vintage Photo Distress Ink
Chipboard Arrow
Epoxy Sticker
Thanks for looking!

Click the banner above to be taken right to my challenge over at SavvyNSassy!


3 comments:
Renee - love how you used both the positive and negative space
I love love love this LO!!!! And thanks for the tutorial too. I will have to give this a try.
Laura
[...] LO was chosen!! Yeah!! If you want to know how to do the Ribbon Stars - check out THIS POST, [...]
Post a Comment