Showing posts with label How to:. Show all posts

Tuesday, March 1, 2011

Technique Tuesday

Felt Roses

Here is another cool video, showing how to make a cool felt rose. Imagine the possibilities here, and who says you need to use felt? I can not wait to try this out with paper:)


Tuesday, February 22, 2011

Technique Tuesday

I've been googling a lot lately. I thought I'd start a new thing called "Technique Tuesday" to share some of the cool things I've found out there in the world wide web:) I'm hoping to inspire myself to actually scrapbook, and possible inspire you too:) On a Plus side, it will at least get me to blog more, and thats a goal I have set for myself this year:)

Here is what I found. Its called Black Magic Stamping.... with a twist. I think its pretty cool:


Sunday, August 3, 2008

How To: Make a Ribbon Memo Board

I originally posted this on the SNS Blog for the August 1st How to....... I'd thought you might like to see it here too!

This is a lot easier to make than it looks! And you can adapt this to whatever supplies you have on hand! Have fun with it!

Gather Your Supplies:


Here I'm using an old bulletin Board - frame removed, fabric to size, furniture nails, 10 yards of ribbon, scissors, stapler, low loft batting, and pins (not shown)

First Things First:

Cut your Batting to Size:


Staple to Bulletin Board


Trim off Excess Batting:


Front Of Bulletin Board:


Back of Bulletin Board:


Now take your fabric and trim to size - leave a generous outline (you can cut off the excess later)


Now go ahead and Staple that material to your Bulletin Board!


Don't forget to trimm off your excess when you are done.

Now here comes the fun part! Place your ribbon how you would like it! I chose to criss cross the ribbon, as well as use and over/under pattern. Here is where I discovered that straight pins do come in handy!


Once I had the ribbon pinned down the way I liked it - I stapled it securely to the back! Poor Stapler - getting quite a workout here!

Now once that was done, I took my furniture nails and placed them wherever the ribbon made "x"'s


and then I pushed them in. All Done!!


There are so many variations you could try - Explore them! For example - You could use cardboard instead of a bulletin board, brads instead of furniture nails, and who says you have to use fabric? What about using some of that stash pretty patterened paper we all have? Go Have Fun with it!!

Saturday, May 17, 2008

How to: Make Your Own Rub Ons!

Sometimes you just can't find a rub-on that works for the project you have in mind, so why don't you create it yourself?

Supplies Needed:

One transparency (Ink jet used here as I have an ink jet printer)

Your printer

The Image/words/etc you want to turn into a rub on

a popsicle stick, or a rub on applicator

Item you wish to apply the rub on to (cardstock/patterned paper)

Step One:

Print your image. You need to make sure

A) Your printer is set to print on a transparency

B) That you print on the SMOOTH side of the transparency.

C) Remember to click mirror image in your settings (either printer or program)

Step Two:

Let it dry about 10 mins or so before handling.

Step Three:


Apply your rub on to your project.

Voila! You are done!

This works awesome on Cardstock & Patterned Paper.

If you do not cut your transparency like I did, then you can re-use it.

Enjoy:)

I went ahead and fancied up my rub on.


Supplies Used:

Red Stickles

Glimmer Mist (Red & Pearl)

Maroon Chalk Ink

Frame

White Cardstock

Credits: Digital Image - Rhonna Farrer.

Finished Project:


I must say - its looks pretty darn cute on my kitchen wall! Its too bad glitter photographs funny:)

Friday, April 11, 2008

Its On!!

The SavvyNSassy Olympic Online Crop is HERE!!!

Photobucket


Now I'm off to my Retreat, I'll be back Sunday. I think I'll miss my DH & Max, but then again I'll be scrapping from Fri - Sun!! ROFL.

While your at the CROP, go check out my Class, Challenge and Make N Take!!

Class #7 "Everyone needs a new purse!"

Challenge #14 "Olympic Spirit"

Make N Take #9 "Take The Perfect Shot"

See you all on Sunday!!

xoxoxo

Tuesday, December 18, 2007

I've been framed!!!

Over at Savvynsassy.com!!! Yeah!!! This Winter Fun

LO was chosen!! Yeah!! If you want to know how to do the Ribbon Stars - check out THIS POST! Click for the FOTD HERE!

Photo Sharing and Video Hosting at Photobucket

Click the banner above to be taken right to my challenge over at SavvyNSassy!

Sunday, December 16, 2007

Challenge Six - SavvynSassy Design Team Contest

Here is your Sixth assignment...

1. Create a Blog "How To" ribbon Technique - (anything you Like - altered or Layout) be sure to include extra images showing the process and the instructions. DETAILS DETAILS DETAILS....
2. use at least 2 DIFFERENT ribbons on your creation
3. Blog your "How To" be sure to include the extra images and all instructions Links etc etc - and link us to your blog entry in this thread.
4. Upload in the gallery before Deadline and post your picture/ instructions in this thread!

EXAMPLES OF A SNS BLOG "HOW TO" are under Categories on the SNS BLOG

**Categories being judged this round:

Creative Ribbon Technique
Blog Entry "How to" (Instructions, Extra Images, Links, Products, etc)
Creativity
Overall appearance & design
Picture of Project (cropped, re-sized, GOOD background etc)

OK So Here We Go.......

The ribbon Technique I chose to do - was "Die Cutting with Ribbon"

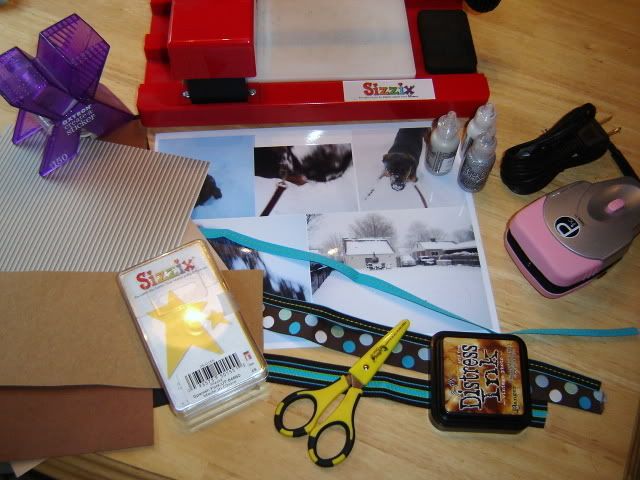
I Gathered Up Some Supplies:

Photo Sharing and Video Hosting at Photobucket

Bermuda Cool - #0186 from the SnS July Sassy Kit

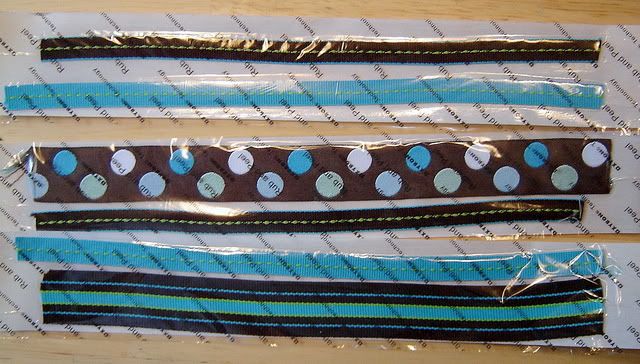
Brown - Miami Blue - Lime Stitch - #0188 from the SnS July Sassy Kit

Miami Blue - Lime Stitch - #0187 from the SnS July Sassy Kit

Brown - White - Turq - Blue - Aqua Jacquard - #0189 from the SnS July Sassy Kit

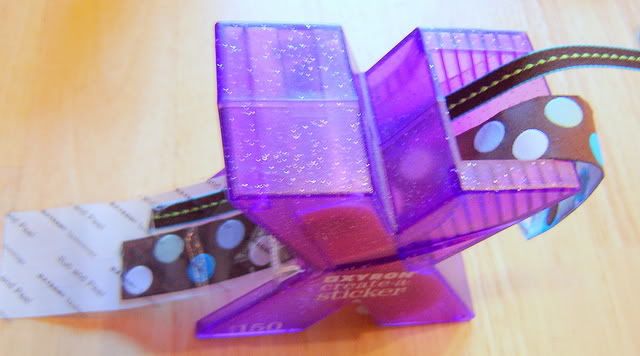
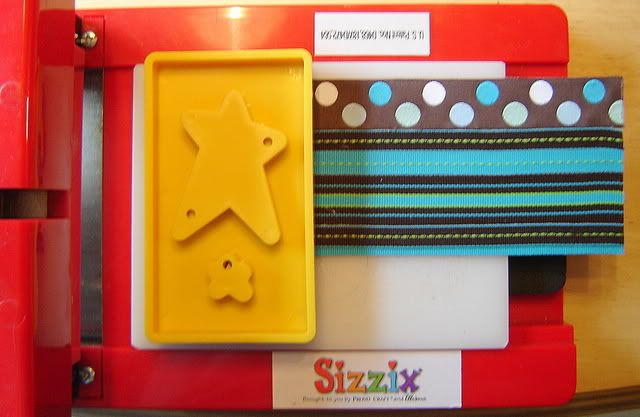
My Xyron 150, some chipboard, (I cut out a piece of a beer box so it was not to thick, you could use whatever you have in your recycle box), my Ribbon Iron, My Sizzix and a Sizzix Die.

First Things First:

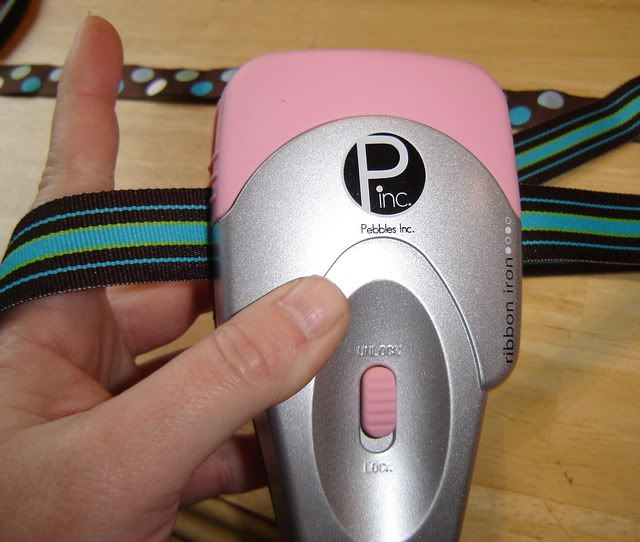
Use the Ribbon Iron to Iron Your Ribbon.

Photo Sharing and Video Hosting at Photobucket

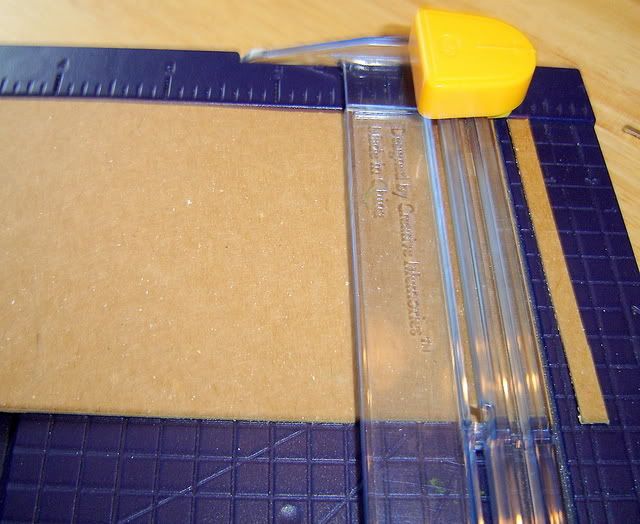
I cut my chipboard to 3 x 8 inches, the size I wanted to use on my LO.

(The sky's the limit)

Photo Sharing and Video Hosting at Photobucket

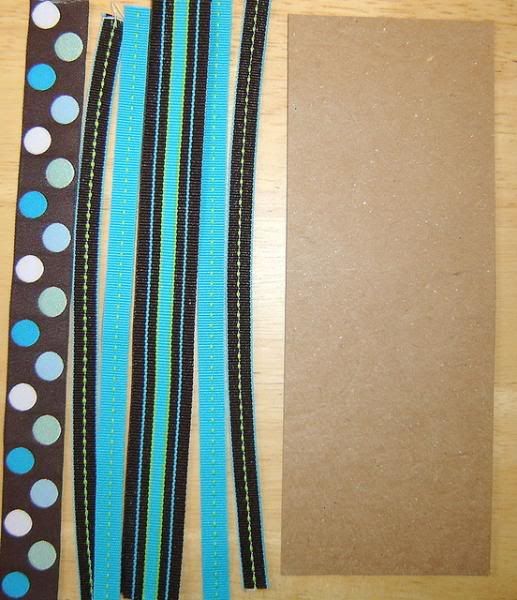
Cut Ribbons to the size of Your Chipboard.

Photo Sharing and Video Hosting at Photobucket

Use the Xyron 150, or your own adhesive, to make the ribbon sticky.

Photo Sharing and Video Hosting at Photobucket

Photo Sharing and Video Hosting at Photobucket

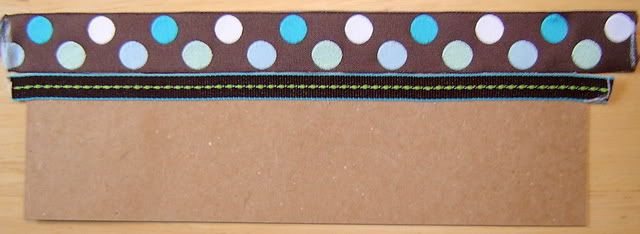
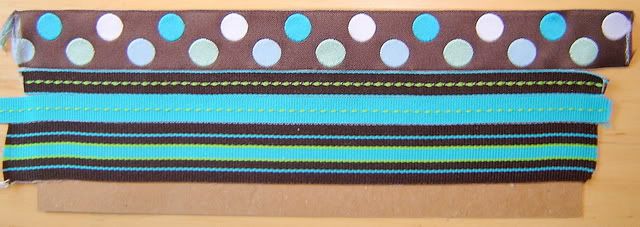
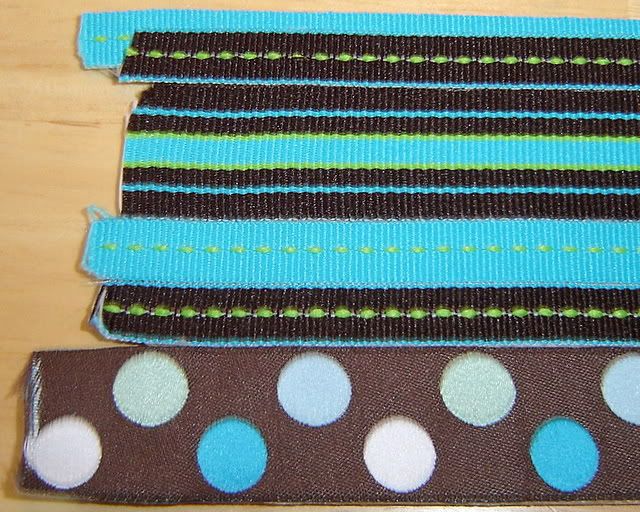
Now Place the ribbons however you would like in order to cover the chipboard completely.

I choose to do straight lines to cover up my chipboard.

Photo Sharing and Video Hosting at Photobucket

Photo Sharing and Video Hosting at Photobucket

Photo Sharing and Video Hosting at Photobucket

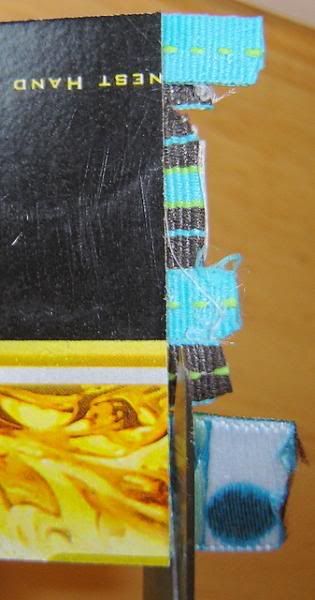
Trim The Ribbon:

Photo Sharing and Video Hosting at Photobucket

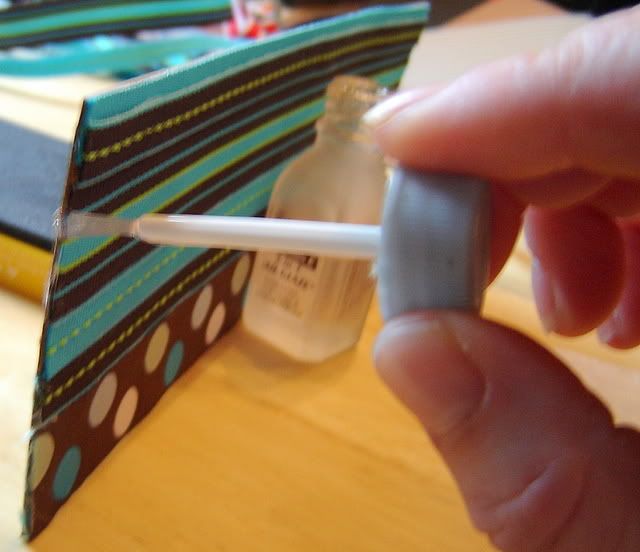
If your Ribbon is Fraying - Use CLEAR Nail Polish to stop it.

Photo Sharing and Video Hosting at Photobucket

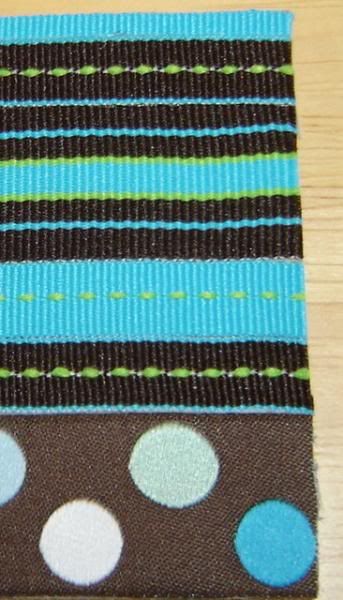
All Trimmed Up:

Photo Sharing and Video Hosting at Photobucket

Now take your Die and position it on the chipboard.

I'm using this for a 2 page LO, so I marked where I wanted to cut,
so that it would be evenly spaced.


Photo Sharing and Video Hosting at Photobucket

Use your die cutting machine, and cut it out!!

Photo Sharing and Video Hosting at Photobucket

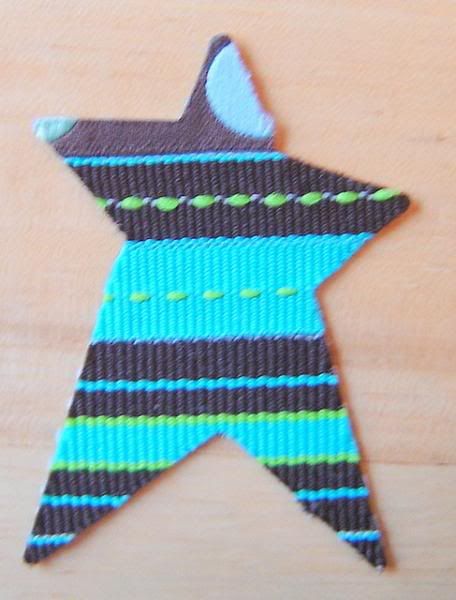
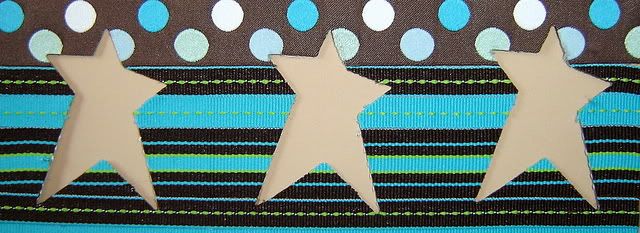
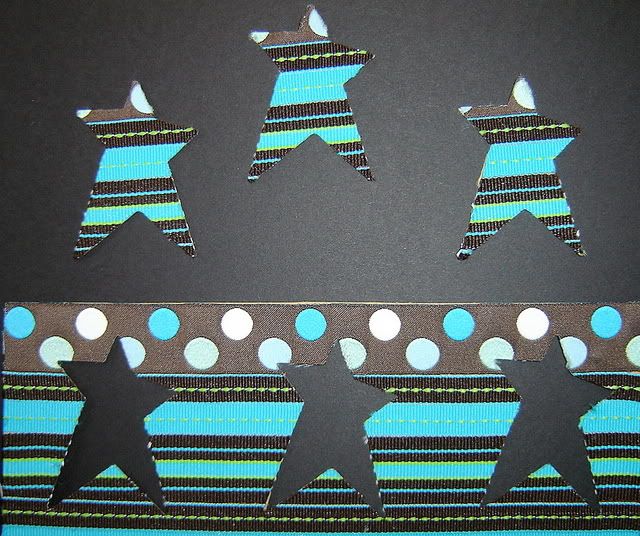
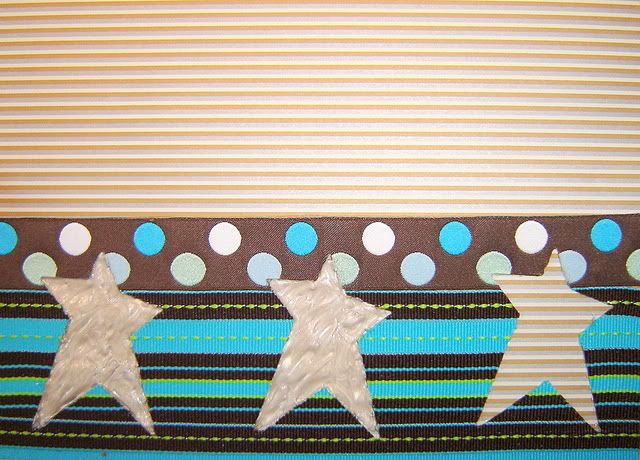
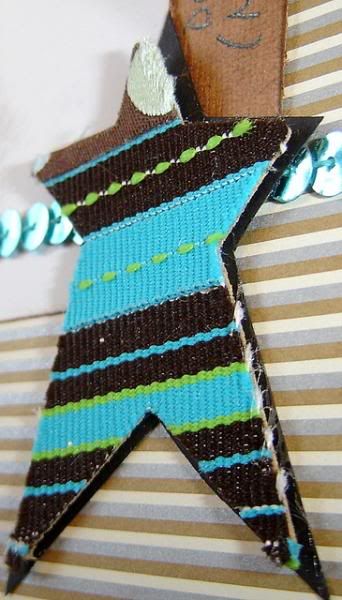
All Done! You now have a Die Cut Ribbon Shape that can be used for your LO.

Photo Sharing and Video Hosting at Photobucket

Photo Sharing and Video Hosting at Photobucket

Photo Sharing and Video Hosting at Photobucket

I choose to use both the positive, and negative sides of my chipboard, on my Two page LO.

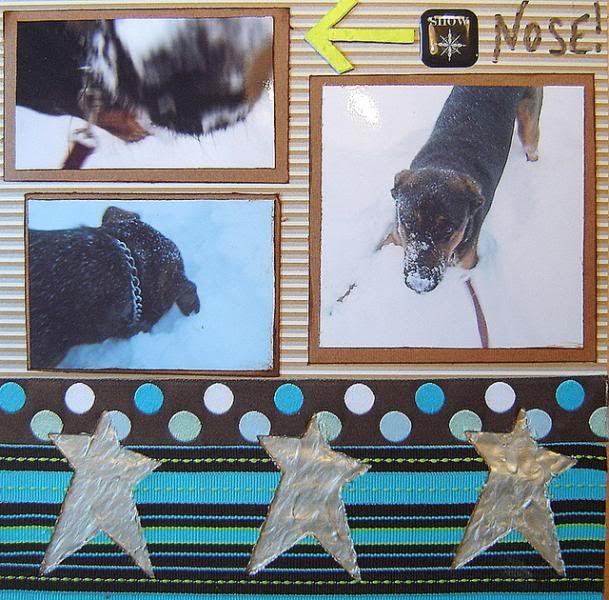
On "Snow Nose"

Photo Sharing and Video Hosting at Photobucket

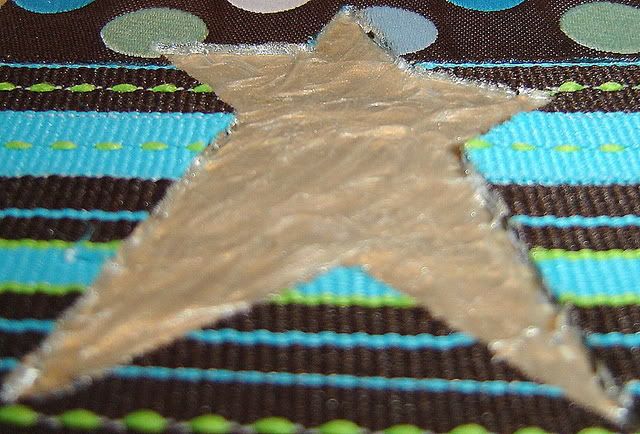
I filled the negative Space with Liquid Pearls - Platinum Pearl.

Photo Sharing and Video Hosting at Photobucket

Photo Sharing and Video Hosting at Photobucket

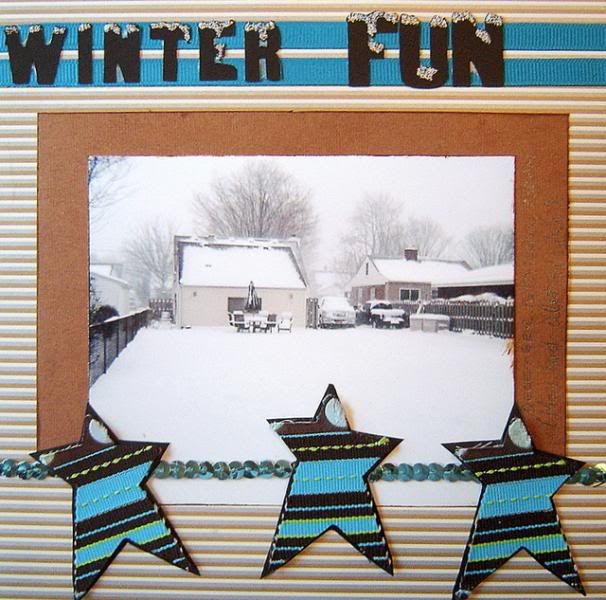
On "Winter Fun":

I used Stickles - Frosted Lace on the Title, and Sapphire Grosgrain & Aqua Sequins from the ZZ December #2 - Explore Kit

Photo Sharing and Video Hosting at Photobucket

Photo Sharing and Video Hosting at Photobucket

Photo Sharing and Video Hosting at PhotobucketPhoto Sharing and Video Hosting at Photobucket

Supplies Used:

Ribbons:

Bermuda Cool - #0186 from the SnS July Sassy Kit Brown - Miami Blue - Lime Stitch - #0188 from the SnS July Sassy Kit Miami Blue - Lime Stitch - #0187 from the SnS July Sassy Kit Brown - White - Turq - Blue - Aqua Jacquard - #0189 from the SnS July Sassy Kit Sapphire Grosgrain & Aqua Sequins from the ZZ December #2 - Explore Kit


KI Memories "Silent Night" PP
Brown & Black Cardstock
Liquid Pearls - Platinum Pearl
Stickles - Frosted Lace
Sizzix Originals Die - Stars, Primitive (38-0155)
Black Pen
Vintage Photo Distress Ink
Chipboard Arrow
Epoxy Sticker

Thanks for looking!

Photo Sharing and Video Hosting at Photobucket

Click the banner above to be taken right to my challenge over at SavvyNSassy!

Saturday, November 24, 2007

How to Make a Scallop Border!

I was checking out the SavvyNSassy Blog and I came across a great Tutorial by Corry. If you want to know how to do it yourself - CLICK HERE!

Thanks Corry for a great tutorial!

Photo Sharing and Video Hosting at Photobucket

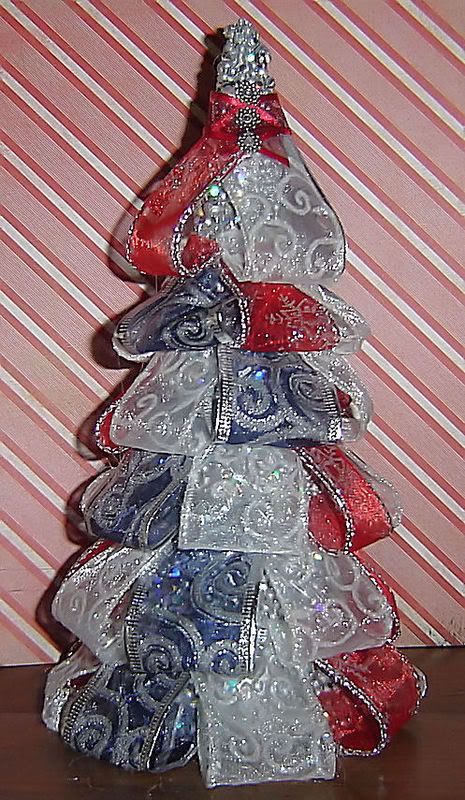
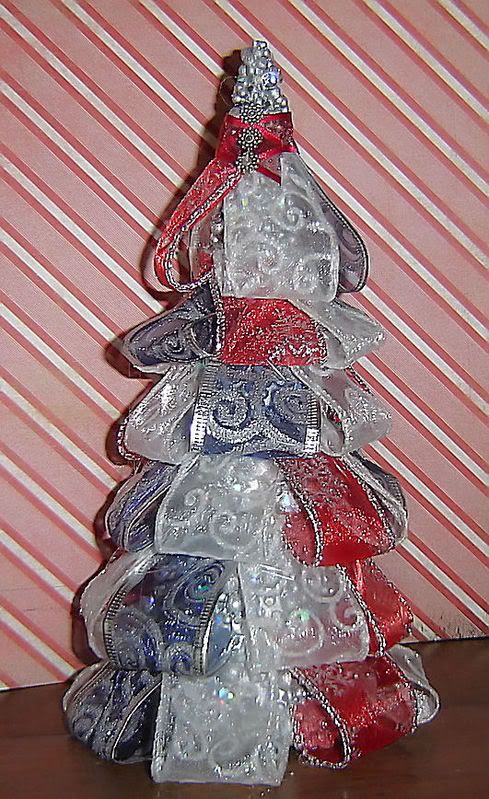
Ribbon Tree - from A Colourful Christmas Crop

I know I've got more done the week after the crop - but I could not resist this cute Ribbon Tree. Instructions are HERE It did not take nearly as long as I thought it would. If I could control the glue gun better - I would have been even faster - I had to keep stopping to peel off the glue on my fingers!! HaHa.

Photo Sharing and Video Hosting at Photobucket

Photo Sharing and Video Hosting at Photobucket

All stash Ribbon!! I love it!!
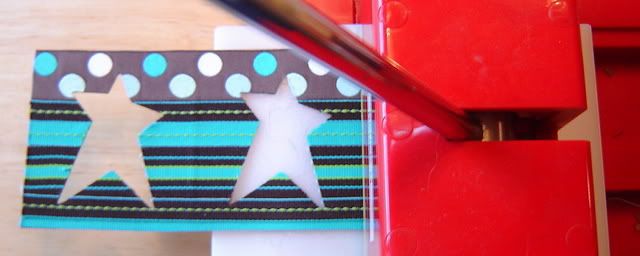
Photo Sharing and Video Hosting at Photobucket